
DIY Floating Shelves
Learn how to plan, build, and safely install DIY floating shelves with practical guidance on materials, hidden supports, wall anchors, finishing, and long-term care.

Introduction
DIY floating shelves can turn an empty wall into useful storage without the visual bulk of standard shelf brackets. Whether you need a small ledge for books, a display spot for ceramics, or practical storage in a bathroom, the finished project looks simple because its support system is largely hidden. That clean appearance, however, depends on careful measuring, solid materials, and mounting the shelf for the load it will actually carry.
This guide walks through a dependable approach for building wood floating shelves in a typical American home. You will learn how to choose a shelf design, locate framing, construct a concealed support, fasten it securely, and finish it for the room. The methods work especially well for shelves mounted to drywall over wood studs. Masonry walls, metal studs, tile, and very heavy loads call for different hardware or professional advice.
1. Plan the Shelf for Its Job
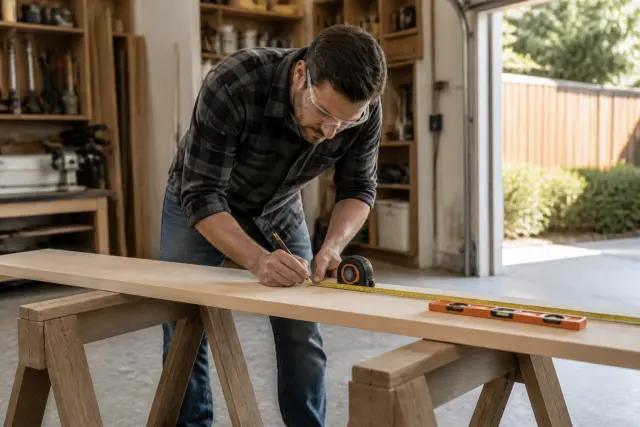
Start with the contents, not the empty wall. A shelf holding a few framed photos has very different requirements from one intended for cookbooks, dinnerware, or a row of houseplants. List what will live on the shelf, estimate the overall weight conservatively, and include the shelf’s own weight. This helps determine its depth, thickness, support spacing, and mounting method.
Choose practical dimensions
For many rooms, a shelf depth of 6 to 10 inches is useful without projecting too far into a walkway. A 1 1/2- to 2-inch-thick shelf looks substantial and leaves room for a hidden cleat or metal rods. Long shelves tend to sag more easily, especially when made from a hollow box. If you want a shelf wider than a few feet, plan for several attachment points and consider splitting the display across two shorter shelves.
- Leave clearance above furniture so items can be reached and dusted.
- Use a level line to test the height with painter’s tape before drilling.
- Check door swings, cabinet doors, window trim, switches, and outlets.
- Keep shelves shallow on narrow hallways and beside beds.
Sketch the wall with shelf width, depth, desired elevation, and stud locations. A simple drawing prevents costly errors when you begin cutting. If you are making a pair or a stacked arrangement, establish one level reference line and measure every shelf from it rather than measuring each one from the ceiling, which may not be level.
2. Select Materials and a Support Style
The most approachable DIY floating shelves use a hollow wood box that slides over a ledger-like cleat screwed into wall studs. The box can be built from hardwood plywood, solid lumber, or a combination. Plywood is stable and often easier to keep straight; solid wood creates an attractive exposed edge but needs allowance for seasonal movement when used in wide panels.
Common hidden-support options
| Support method | Best use | Key consideration |
|---|---|---|
| Wood cleat frame | Medium-duty decorative and everyday shelves | Must be securely screwed to studs and fit snugly inside the shelf box. |
| Commercial concealed bracket | Heavier solid-wood shelves | Follow the bracket maker’s mounting and load instructions exactly. |
| Threaded rods or steel pins | Minimalist solid shelves | Requires accurate drilling and a wall structure capable of carrying the load. |
For a first project, a wood cleat frame is forgiving and uses familiar tools. Build the visible shelf from 3/4-inch plywood with a solid-wood face trim, or make a three-sided box from straight lumber. Avoid relying on lightweight particleboard, warped boards, or thin material for shelves that will be loaded regularly.
3. Gather Tools, Hardware, and Safety Gear
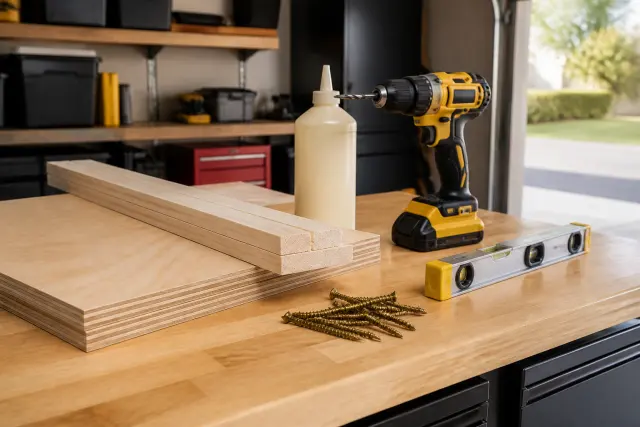
A tape measure, pencil, combination square, level, stud finder, drill/driver, drill bits, and saw cover the essentials. A circular saw with a straightedge guide or a miter saw can make clean cuts; a table saw is helpful but not required. Keep a countersink bit, clamps, wood glue, wood screws, sandpaper, and a shop vacuum or brush nearby.
Use structural wood screws or appropriately rated cabinet screws for fastening the cleat into wood studs. Do not substitute drywall screws for this job; they are brittle and are not designed for carrying shelf loads. Screws should penetrate solid framing sufficiently after passing through the cleat and drywall. Select the length based on your actual cleat thickness and wall assembly, and avoid screws so long that they could reach plumbing or wiring hazards.
Work safely before you cut or drill
Wear eye protection while cutting, drilling, and sanding, plus hearing protection with loud power tools. Support long boards so they cannot tip or bind the blade. Before drilling into a wall, use a stud finder and inspect both sides of the wall when possible. Be especially cautious near outlets, switches, plumbing fixtures, and appliance connections. Shut off power at the breaker if you must remove an electrical cover plate to inspect an area, and do not drill where wiring may be present.
4. Find Studs and Lay Out the Mounting Line
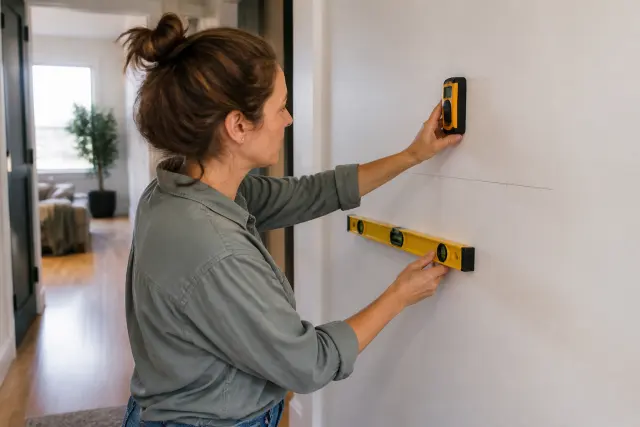
A floating shelf is only as reliable as the wall connection. In a conventional wood-framed wall, the strongest approach is fastening the cleat or concealed bracket directly to studs. A stud finder is a starting point, not final proof. Scan slowly, mark both edges of each indicated stud, and confirm the center with a small pilot hole in a concealed location if needed.
Once you have found the studs, draw a level line for the top or bottom of the cleat. Account for the shelf-box thickness so the final shelf lands where you intended. Hold the cleat against the wall on the line, transfer stud-center marks to it, and predrill its screw locations. Predrilling reduces splitting and makes it easier to keep the cleat in position.
When studs are not where you need them
Shift the shelf width or position when possible so it catches at least two studs. For a small, light display shelf, an anchor system specifically rated for the wall type and intended load may be suitable, but its rating is only meaningful when installed correctly in sound wall material. Hollow-wall anchors are not a substitute for studs on a long shelf holding books, dishes, or other dense objects.
Walls with metal studs, plaster and lath, concrete block, brick, or tile deserve a tailored plan. Metal studs can deform under concentrated loads; masonry needs suitable masonry fasteners; tile can crack without the right drilling technique. If you cannot identify the wall construction or the shelf will carry substantial weight, ask a qualified carpenter or handyperson to assess the mounting approach.
5. Build a Straight, Snug Shelf Box
Cut the top, bottom, and front pieces carefully. For a basic hollow shelf, the top and bottom panels create the depth, while a front face hides the cleat and provides a thicker visual profile. Dry-fit every piece around the cleat before applying glue. The box should slide on without forcing, yet it should not wobble once seated.
Assembly sequence
- Cut the top and bottom panels to identical width and depth.
- Cut the front face to the finished shelf width and chosen thickness.
- Glue and clamp the front face to the top and bottom, keeping all edges flush.
- Use brad nails or trim screws only as temporary clamping help, not as the primary joint strength.
- Check the assembly for square before the glue sets, then sand seams smooth.
Include a thin back strip or internal blocking if it improves the box’s rigidity, but leave enough interior space for the cleat. A continuous interior cavity makes installation easier. Test-fit after sanding, since a small buildup of glue or a slightly proud screw head can prevent the box from seating fully against the wall.
6. Install and Reinforce the Hidden Cleat
Cut the cleat slightly shorter than the shelf box so it remains hidden. A cleat made of straight, dry lumber should fit inside the cavity with modest clearance. For a wider shelf, add short perpendicular arms or blocks extending outward from the wall; these increase support under the shelf bottom and reduce flexing.
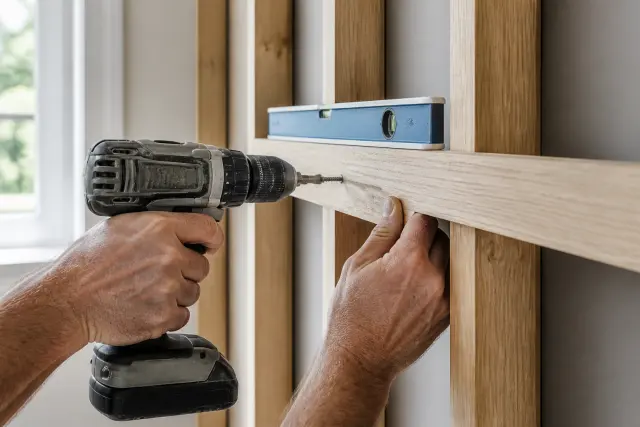
Hold the cleat on the layout line, check it with a level, and drive screws through predrilled holes into each available stud. Start with one screw near an end, recheck for level, then add the remaining screws. The cleat must lie flat against the wall. If drywall texture creates a small gap, do not overtighten and crush the surface; instead, address the unevenness so the support remains solid.
Test the support before covering it
Pull and press on the installed cleat by hand. It should not shift, rotate, or make cracking sounds. Confirm that screw heads sit flush or slightly recessed so the shelf can slide over them. This is the easiest stage to correct a missed stud, a crooked cleat, or an interference problem. Once the shelf box is installed and finished, repairs are much more involved.
For extra security, drive a few small trim-head screws downward through the shelf top into the cleat, or upward through the shelf bottom where they will not be seen. Predrill these holes to reduce splitting. Keep fasteners away from the shelf’s front edge, where they may be visible or weaken a thin face piece.
7. Slide On the Shelf and Check for Level
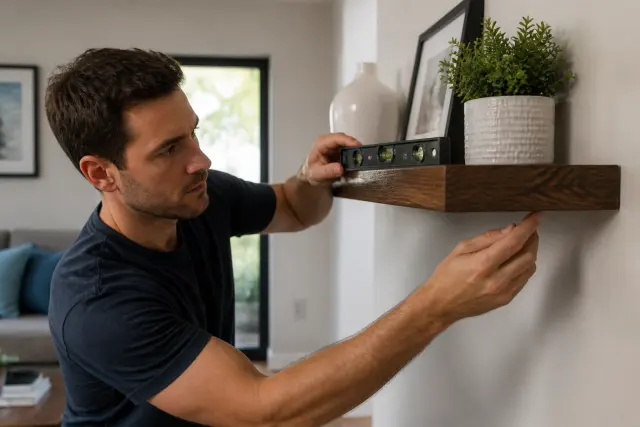
With a helper for long or heavy shelves, slide the finished box over the cleat in a straight motion. Press it firmly back to the wall, then check the front edge with a level. A shelf can appear level against a sloping ceiling but still be noticeably off when books or decor are placed on it, so trust the level rather than nearby trim.
If the shelf rocks, remove it and find the cause. Common issues include a proud screw, a lump of dried glue, a twisted cleat, or an out-of-square box. Do not hide a rocking shelf by piling caulk into the wall gap. Fix the structural fit first. Once it is stable, add the discreet locking screws planned during installation.
Load it gradually
Let wood glue and finish cure according to their labels before loading the shelf. Start with a few lightweight items, then add the intended contents in stages while watching for movement or a widening gap at the wall. Place heavier objects close to the wall and nearer to stud-supported areas, rather than concentrating them at the front edge or one far end.
8. Finish, Style, and Maintain DIY Floating Shelves
Finish sanding with the grain and remove all dust before applying stain, paint, or a clear protective finish. For a natural wood appearance, test stain and topcoat on an offcut first; plywood edges and solid trim can absorb color differently. Paint is often the most forgiving choice for a built-in look, especially when the shelf will match existing trim or cabinetry.
Choose a finish for the room. A durable clear topcoat is useful in kitchens, entries, and children’s rooms, while a bathroom shelf benefits from a moisture-resistant coating and good ventilation. Even a well-finished wood shelf should not be used as a perch for dripping wet towels, soaked planters, or continuously damp items. Use saucers under plants and wipe spills promptly.
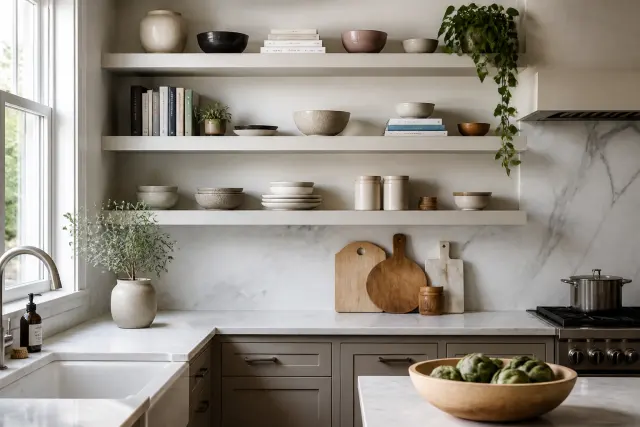
Make the display look intentional
Group objects by height and leave a little open space rather than packing every inch. Books can anchor one side, while a small tray, framed art, or vase creates variation. Avoid placing very heavy planters or stacks of books at the shelf’s extreme ends. A restrained arrangement also makes it easier to notice if the shelf begins to sag or pull away from the wall.
Inspect DIY floating shelves a few times a year and after any change in what they hold. Look for loose locking screws, wall cracks, a shelf that is no longer level, finish damage, or a gap developing at the wall. Remove the contents and correct any movement promptly. Never increase a shelf’s load simply because it has held a lighter arrangement without a problem.
Climate matters for woodwork. In homes with pronounced seasonal humidity swings, solid wood can expand and contract. Keep the shelf away from direct water exposure and avoid trapping it tightly against a damp exterior wall. Stable indoor humidity and a sealed finish help preserve the wood, while plywood-based boxes generally move less across their width.
Building permits are rarely needed for ordinary decorative shelving, but local rules and lease agreements can affect work in condos, apartments, historic properties, and shared walls. Get landlord or association approval when required. If the project involves moving wiring, opening a wall, mounting to an uncertain structure, or supporting unusually heavy items, bring in a licensed or qualified local professional.
Conclusion
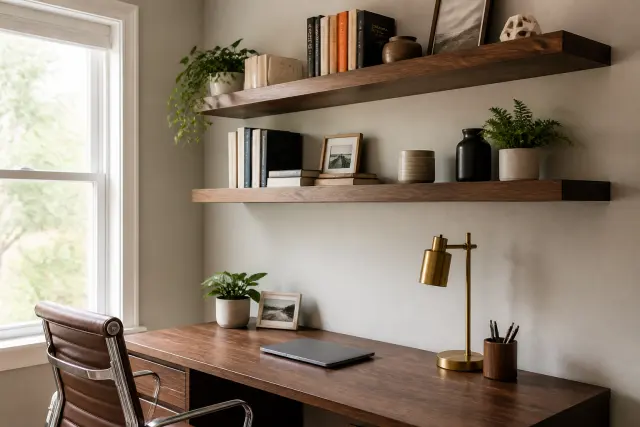
Well-built DIY floating shelves combine a clean design with a serious mounting job. Plan around the weight you expect, use straight materials, fasten a concealed support into solid framing, and correct fit problems before hiding the hardware. A careful finish and periodic inspection will keep the shelves attractive and dependable for years.
Begin with one modest shelf in a low-risk location, then use what you learn about your walls and tools on a larger arrangement. Taking time to locate studs, verify level, and load the shelf sensibly is what turns a stylish wall upgrade into a safe, useful home project.
Frequently Asked Questions
How much weight can DIY floating shelves hold?
Capacity depends on the shelf material, shelf depth and length, support design, fasteners, wall construction, and where the weight is placed. A shelf screwed directly into multiple wood studs is far more dependable than one relying on drywall anchors. Build and mount for the intended load, then keep heavy items close to the wall and inspect the shelf regularly.
Can I install floating shelves without studs?
You can install a small, lightweight shelf with anchors that are specifically rated for your wall type and expected load, provided the wall is in good condition. For long shelves or heavy items such as books, dishware, or large plants, mount into studs or use a mounting method designed by a qualified professional for that wall.
What wood is best for DIY floating shelves?
Hardwood plywood with solid-wood edge trim is stable and practical for a hollow shelf box. Straight solid lumber can also work, particularly with concealed steel brackets or rods. Avoid warped boards and weak sheet goods for load-bearing shelves.
Why is my floating shelf tilting forward?
A forward tilt can result from a cleat that was not installed level, loose fasteners, an uneven wall, a shelf box that does not fit squarely, or too much weight at the front edge. Remove the contents and investigate the wall connection and fit before continuing to use the shelf.
Should floating shelves be screwed into the cleat after they slide on?
Yes, discreet locking screws are a good idea. They help prevent the shelf from shifting or being accidentally lifted off the cleat. Predrill and place them where they will be hidden, such as through the top into the cleat or from below when the location will not be visible.
How do I protect floating shelves in a bathroom or kitchen?
Seal all exposed wood surfaces and edges with an appropriate paint or clear protective finish, allow it to cure fully, and wipe up water quickly. Use trays or saucers beneath toiletries and plants, maintain ventilation, and avoid exposing the shelf to repeated standing water or steam without adequate protection.