
Easy DIY Home Projects
Refresh your home with easy DIY projects that deliver practical results, from painting and caulking to hardware updates, storage, and outdoor improvements.
Introduction
Easy DIY home projects can make a house feel cleaner, more current, and better suited to everyday life without requiring a major renovation. The best starter projects solve a visible problem: a loose cabinet pull, a drafty door, a cluttered entry, or a tired-looking wall. They also have a clear stopping point, use tools you can handle safely, and leave room for small mistakes.
Start by choosing one project that fits your time, budget, and comfort level. Read the instructions for every product before opening it, measure twice, and protect nearby floors and furniture. A thoughtful one-day improvement is usually more satisfying than starting several jobs and leaving them unfinished. The ideas below focus on practical upgrades that work in many American homes, apartments, and condos.
1. Choose a Project That Matches Your Skill Level
A successful DIY plan begins with an honest assessment. Projects involving surface cleaning, painting, fastening, and simple assembly are generally approachable for beginners. Jobs that change plumbing supply lines, alter electrical wiring, affect a load-bearing wall, or involve roofing should be treated differently. Those can require permits, inspections, specialized tools, or a licensed professional.
Use a simple project checklist
Before shopping, write down the goal, dimensions, materials, tools, estimated cleanup time, and any potential obstacles. For example, replacing a towel bar may seem simple, but you need to know whether the new mounting brackets will cover the old holes. Keep the first project small enough to complete in an afternoon, including prep and cleanup. This builds skills that transfer to larger work.
- Pick a project with a visible benefit and a defined finish line.
- Check wall, door, and furniture materials before selecting fasteners or cleaners.
- Buy a little extra paint, caulk, or hardware in case of mistakes.
- Keep receipts and product labels until the job is complete.
2. Refresh a Room With Paint and Careful Prep
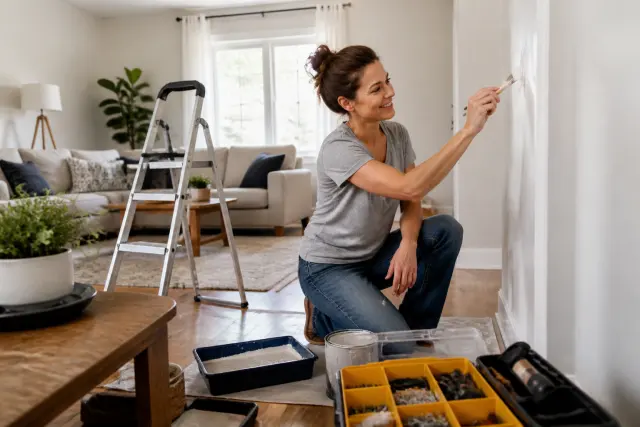
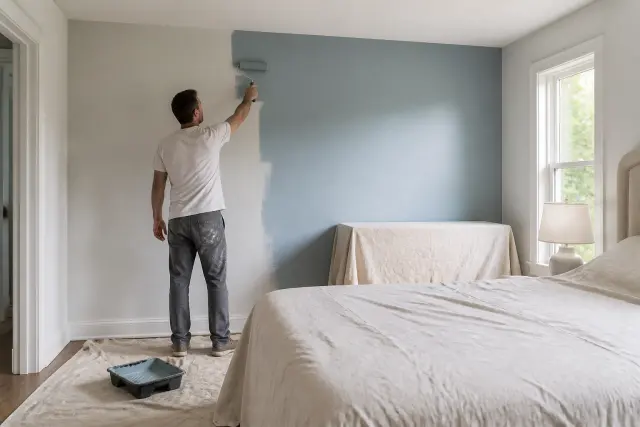
Painting is one of the most effective easy DIY home projects because color can change the feeling of a room quickly. An accent wall, an interior door, a small bathroom, or a hallway is more manageable than an entire open floor plan. Choose a finish based on use: flatter sheens can hide wall imperfections, while more washable finishes are helpful in kitchens, baths, trim, and high-traffic areas.
Prep is what makes paint look polished
Move furniture away from the work area, wash greasy or dusty surfaces, fill small nail holes, and let repairs dry before sanding them smooth. Use painter's tape only on clean, dry surfaces, and remove it while the last coat is still slightly wet for a cleaner edge. Ventilate the area according to the paint label, especially in smaller rooms. In older homes, do not sand or disturb suspect old paint without understanding potential lead-paint precautions.
Apply thin, even coats and allow the recommended drying time between them. Humidity and low temperatures can slow drying, so avoid painting in damp, poorly ventilated conditions. Save a labeled sample of leftover paint for future touch-ups, and clean brushes or rollers promptly so they can be reused.
3. Update Cabinet and Furniture Hardware
New knobs, pulls, hooks, and handles can give kitchen cabinets, bathroom vanities, dressers, and closets a fresh look for relatively little effort. The key measurement is the center-to-center distance between existing screw holes. Measure each cabinet style rather than assuming every door and drawer matches, particularly in older kitchens where prior owners may have made changes.
Make installation repeatable
If you are drilling new holes, use a hardware template or make one from cardboard so every pull lands in the same position. Mark the face of the door with painter's tape, drill a small pilot hole, and support the back side to reduce splintering. Tighten screws until hardware is secure, but do not overtighten; that can crack wood veneer or damage thin drawer fronts.
For a coordinated result, consider the finish of nearby faucets, light fixtures, and appliances, but do not feel obligated to match every metal exactly. Repeat one or two finishes throughout a room and prioritize hardware that feels comfortable in your hand. Check screw length before installation, since screws that are too long can poke through the cabinet face.
4. Seal Gaps With Fresh Caulk
Replacing worn caulk around tubs, showers, sinks, backsplashes, and window trim is a small project with outsized practical value. Intact caulk helps keep routine splashes from entering gaps around fixtures and makes a room look cleaner. Choose a product formulated for the location. Kitchen and bath caulk is designed for areas that see moisture, while paintable latex caulk is often useful for interior trim gaps.
Remove failed material before applying new caulk
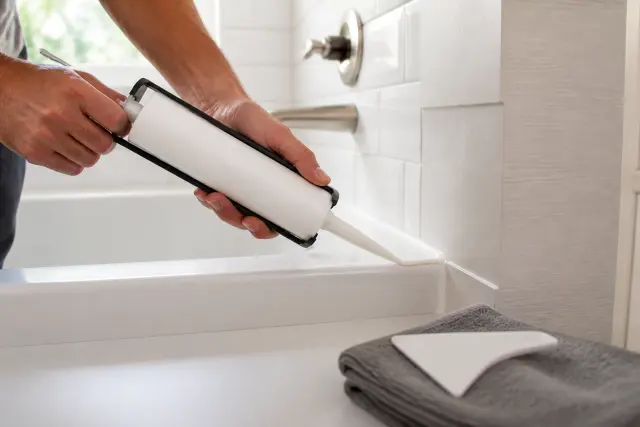
Cut and scrape out loose or moldy old caulk carefully without gouging the surrounding surface. Clean the joint thoroughly and let it dry fully; caulk adheres poorly to soap residue, dust, and moisture. Apply a modest, steady bead, then smooth it with a damp finger or a caulk-finishing tool. Keep a rag nearby and wipe away excess immediately.
Respect the label's cure time before exposing the area to water. In a shower, that may mean planning the project when the bathroom can be left unused. If you see recurring staining, soft drywall, a loose tub surround, or a leak beneath a sink, caulk alone is not the solution. Find and repair the moisture source before closing up the gap.
5. Add Open Shelves or a Simple Wall Organizer
Wall-mounted storage can make a compact kitchen, laundry room, home office, or entry work harder. A narrow shelf for keys and mail, a row of hooks for bags, or a small display shelf can reclaim useful space without a full built-in project. Decide what will live on the organizer before choosing its depth and location. A shelf that is too deep can crowd a walkway, while hooks placed too high will not be convenient.
Fasten to the wall correctly
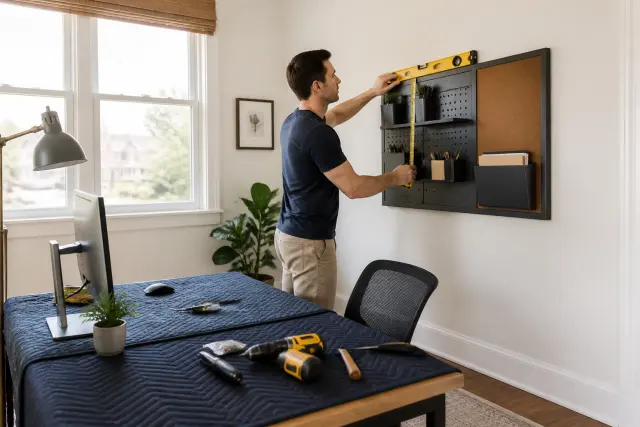
Use a stud finder when possible and confirm stud locations with a small test hole in an inconspicuous spot. Screws driven into studs provide the most reliable support for heavier loads. When a stud is not available, choose wall anchors rated for the wall material and expected weight, and follow the anchor package instructions. Drywall, plaster, masonry, and tile all need different approaches.
Use a level before marking every hole, not just after the first bracket is installed. Keep heavy objects low and avoid loading shelves beyond the bracket or anchor rating. In homes with small children, place climbing-attractive furniture and shelves thoughtfully, and anchor tall freestanding furniture to the wall according to the manufacturer's directions.
6. Improve Lighting Without Altering Wiring
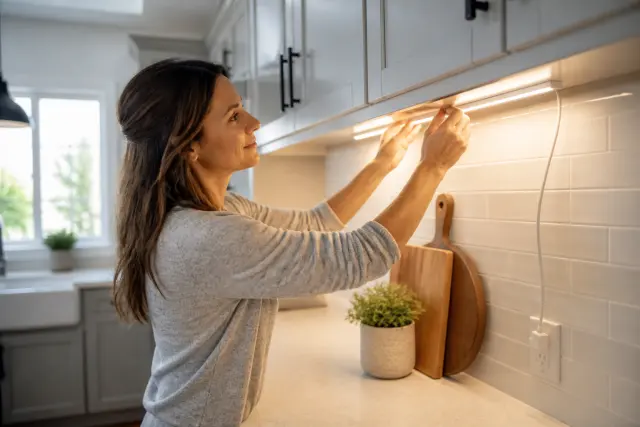
Better lighting can make a room feel more useful immediately. Start with low-risk changes: replace burned-out bulbs with the correct base and wattage equivalent, add a plug-in floor lamp, install under-cabinet plug-in lighting, or use battery-powered motion lights in a dark closet. Look for bulbs with a light appearance that suits the room; warmer light often feels inviting in living areas, while brighter neutral light can be useful at task surfaces.
Keep electrical work within your comfort zone
Turn off power at the breaker before changing a fixture bulb or working near a fixture, and let hot bulbs cool first. Do not overload power strips or hide extension cords under rugs, through doorways, or behind furniture where they can be damaged. Use products intended for damp locations around bathrooms, covered porches, or exterior doors.
Replacing a hardwired fixture can be manageable for experienced DIYers, but wiring conditions vary widely. Stop and call a qualified electrician if you find damaged insulation, aluminum wiring, a loose electrical box, repeated breaker trips, buzzing, or signs of heat. Local electrical codes may also govern fixture locations, especially near water, so confirm requirements before making permanent changes.
7. Stop Drafts With Weatherstripping and Door Adjustments
Drafts at exterior doors and operable windows can make rooms less comfortable during hot summers and cold winters. Begin by looking for obvious gaps in daylight around a closed door, flattened weatherstripping, or a door sweep that no longer reaches the threshold. Cleaning the frame and adjusting loose hinge screws may improve the fit before you buy replacement materials.
Match the product to the gap
Adhesive-backed foam weatherstripping is simple to install on clean, dry surfaces, but it can compress over time. More durable compression seals, door sweeps, and threshold products may be a better choice for a frequently used exterior door. Measure the opening, cut materials carefully, and test the door after each step. It should latch without excessive force.
Climate affects the best timing for this work. Adhesives generally bond better when surfaces are within the temperature range stated on the package, and wet or icy conditions can make exterior work unsafe. If you see water entering around a window or door, peeling exterior trim, or widespread rot, ask a building professional to assess the flashing and exterior details rather than simply sealing over the symptom.
8. Create a Low-Maintenance Garden Upgrade
A small outdoor project can improve curb appeal and create a more welcoming place to spend time. Refreshing a container garden, defining a planting bed edge, adding mulch, or installing a simple hose guide are approachable options. Select plants based on the amount of sun the spot actually receives, not just the look you want. Observe the area at several times of day before buying plants.
Prepare soil and plan for local conditions
Clear weeds and debris, loosen compacted soil where appropriate, and give plants enough room for their mature size. Apply mulch around plants to help moderate soil moisture and suppress weeds, while keeping it pulled back from stems and tree trunks. A thick pile against bark can hold unwanted moisture and invite pests.
Use your local climate, frost timing, rainfall, and watering restrictions to guide plant and irrigation choices. Native or regionally adapted plants can be a practical fit, but their needs still vary by site. Before digging, contact your state's utility-location service and wait for marked lines when the project involves more than a shallow hand-dug planting hole. Avoid digging near marked utilities or any area where underground lines are uncertain.

9. Build a Useful Entryway Drop Zone
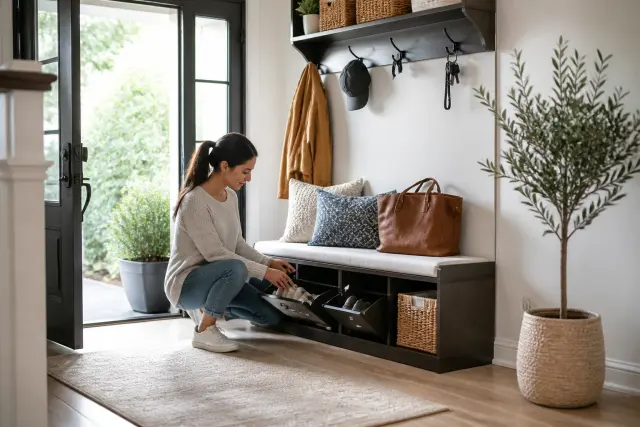
An organized entryway reduces daily clutter because it gives coats, shoes, mail, and bags a predictable home. You can create a simple drop zone with a washable mat, a small bench, wall hooks, a tray for keys, and labeled baskets. In a narrow hall, a slim wall-mounted organizer or a vertical hook rail may work better than furniture that blocks passage.
Design around real routines
Store the items that leave the house every day at easy reach, and reserve higher shelves for seasonal accessories. Give each household member a hook or basket if space allows. Choose finishes that tolerate wet umbrellas, muddy shoes, and frequent cleaning. A shallow tray protects a wood surface from keys and loose change while making small items easier to find.
Keep egress routes clear. Do not place a bench, shoe rack, or large basket where it narrows a stair landing, blocks an exterior door, or creates a tripping hazard. If you rent, use removable hooks only within their stated weight limits and check your lease before drilling into walls or changing permanent fixtures.
10. Know When a DIY Project Needs a Pro
Good DIY judgment includes knowing when to pause. Projects involving gas lines, main electrical panels, structural changes, significant mold or water damage, sewer connections, major tree work, and roof repairs have risks that can exceed the savings of doing it yourself. Permitting rules are set locally, so requirements can differ by city, county, and neighborhood even for similar work.
Protect yourself, your home, and your records
Wear eye protection when drilling, cutting, scraping, or using chemical cleaners. Use gloves suited to the task, work on stable ladders, and keep children and pets away from work zones. Read safety data and disposal instructions for paint, solvents, adhesives, and pesticides. Never mix cleaning products, particularly products that may contain bleach or ammonia.
For work that may affect a permit, insurance claim, warranty, or future home sale, keep dated photos and receipts. Ask your local building department whether a permit or inspection is required before work begins. When hiring help, describe the problem clearly, ask what scope is included, and make sure the professional is appropriate for the trade and your local requirements.
One of the easiest ways to maintain momentum is to create a short home-project list divided into “this week,” “this season,” and “professional help.” Tackle maintenance tasks before cosmetic ones when possible. Cleaning gutters, sealing a small gap, repairing a loose handrail, or addressing a slow leak can prevent a minor issue from becoming a more disruptive repair.
After each project, put tools away, label leftover materials, and note the paint color, hardware size, or filter type you used. Those records make future repairs much easier. A home improves gradually through repeated, well-planned actions, not through a single perfect weekend of renovation.

Conclusion
Easy DIY home projects are most rewarding when they make your space safer, more comfortable, or easier to use. Start with a project you can finish confidently, prepare carefully, and follow product instructions from beginning to end. Whether you paint a wall, seal a tub edge, add entry storage, or refresh a planting bed, small improvements can add up to a home that feels more personal and well cared for.
Keep safety and local requirements in view as your skills grow. Save complicated electrical, plumbing, structural, and moisture-related work for qualified help when needed. With a practical plan and a few basic tools, you can make meaningful progress one manageable project at a time.
Frequently Asked Questions
What are the easiest DIY home projects for beginners?
Beginner-friendly projects include painting a small room or accent wall, replacing cabinet hardware, adding removable wall hooks, organizing an entryway, applying fresh caulk, and refreshing containers or mulch in the garden.
What basic tools should I buy for simple DIY projects?
A practical starter kit includes a tape measure, screwdriver set, hammer, adjustable wrench, level, utility knife, drill with basic bits, stud finder, safety glasses, gloves, and a small assortment of screws and wall anchors.
Do I need a permit for small home improvement projects?
Many cosmetic projects do not require permits, but rules are local. Electrical, plumbing, structural, exterior, and mechanical work may require permits or inspections. Check with your local building department before starting permanent work.
How can I avoid damaging drywall when hanging shelves?
Locate and fasten into studs whenever possible. If a stud is unavailable, use an anchor rated for the wall type and the expected load, follow its installation instructions, and do not overload the shelf.
When should I hire a professional instead of doing it myself?
Hire an appropriate qualified professional for gas work, major electrical work, structural changes, significant leaks or mold, roofing, sewer work, and any project that requires permits or exceeds your experience and tools.
What is the best season for outdoor DIY projects?
The best season depends on your climate and the product. Choose dry, safe weather and work within the temperature range listed for adhesives, paint, sealants, and landscaping materials. Plan planting around local frost dates and water availability.