
How to Fix Drywall Holes
Learn how to fix drywall holes of every common size, from tiny nail pops to larger wall openings, with practical patching, sanding, priming, and painting steps.
Introduction
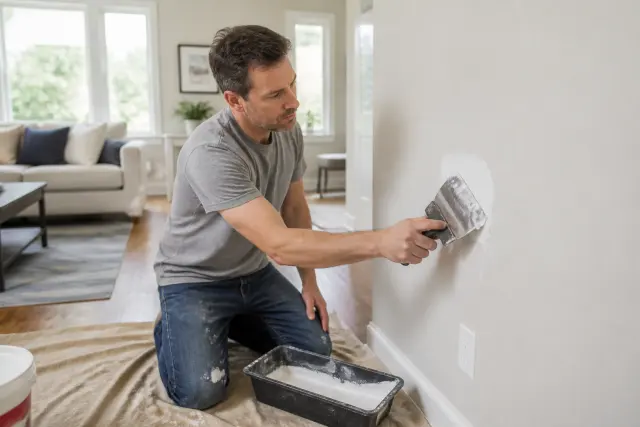
Knowing how to fix drywall holes can make a room look cared for again without turning a small accident into a major renovation. Door handles, moving furniture, picture hangers, and everyday settling can all leave marks in gypsum board. The right repair depends less on the hole’s exact shape than on its size, whether the paper facing is torn, and whether the wall has texture.
Most sound, dry interior drywall can be repaired with basic hand tools, joint compound, and a little patience. The goal is not simply to fill the opening. A durable repair needs stable backing when necessary, thin feathered coats, thorough drying, and primer before paint. Rushing any of those steps is what usually leaves a visible ring, dip, or flashing spot after the wall is painted.
1. Inspect the Damage Before Choosing a Repair
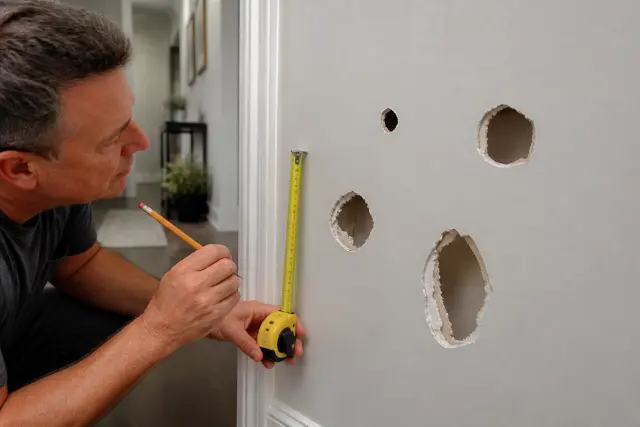
Start by looking for a cause that needs attention before cosmetic work begins. A round puncture from a doorknob is generally straightforward. A soft area, staining, crumbly gypsum, or a growing crack may point to a leak, condensation issue, movement, or a loose drywall panel. Fix moisture problems and allow the framing and wall cavity to dry before closing the wall.
Press gently around the opening. If the surrounding board feels firm and the damage is limited, you can usually patch it. Remove loose paper, broken gypsum, and old patch material with a utility knife. Cut only enough to create a clean, stable edge; a ragged edge makes it harder for compound or a patch to sit flush.
Match the repair to the hole size
| Damage type | Typical repair | Key material |
|---|---|---|
| Nail, screw, or pin hole | Fill and sand | Lightweight spackle |
| Small dent or hole up to about 1/2 inch | Fill in thin layers | Spackle or joint compound |
| Hole roughly 1/2 to 6 inches | Use a self-adhesive or metal-backed patch | Drywall patch and joint compound |
| Large opening or damaged section | Install a cut drywall patch with backing | Drywall, screws, wood backing, tape |
Turn off power at the breaker before cutting into a wall near outlets, switches, or where wiring may run. Use a stud finder with wire-detection capability only as a preliminary check, not as a guarantee. If you cannot confidently identify what is behind the wall, limit the repair to surface methods or call a qualified professional.
2. Gather Tools and Protect the Room
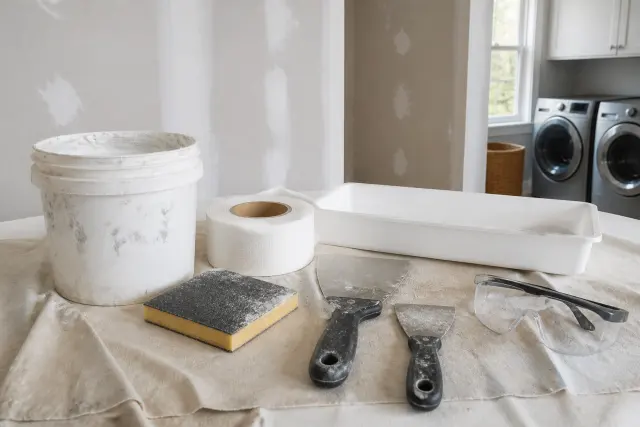
For a typical repair, gather a utility knife, putty knife or drywall knives, sanding sponge, fine-grit sandpaper, joint compound, primer, paint, and a clean damp cloth. For larger repairs, add a drywall saw, measuring tape, pencil, scrap drywall, drywall tape, screws, a drill or driver, and narrow wood strips for backing. A wider drywall knife—such as 6, 10, or 12 inches—helps feather compound well beyond the patch.
Drywall dust is fine and persistent. Cover nearby furniture, protect flooring with a drop cloth, and use a vacuum with a brush attachment to clean as you go. Wear safety glasses when cutting or sanding, and use a properly fitted dust mask or respirator appropriate for nuisance dust. Open a window when weather permits, but avoid creating a strong draft that can blow dust around the room.
Choose the right compound
Lightweight spackle is convenient for shallow nail holes and tiny dings. Ready-mixed joint compound is easier to feather across patches and is generally the better choice for broad finishing coats. Setting-type compound, often sold as a powder with a working time, is useful for deeper fills because it hardens by chemical reaction. Mix only what you can use in its working time, and follow the package directions.
3. Fill Nail Holes, Screw Holes, and Small Dents
For the smallest flaws, scrape away loose paint and dust. Load a small putty knife with a modest amount of spackle, press it firmly across the hole in more than one direction, then pull the knife flat to remove excess. The first pass should fill the void rather than build a hump on the wall.
Let the material dry fully. Because fillers can shrink slightly, inspect the spot under side lighting and apply a second, very thin coat if it looks recessed. Sand lightly with a fine sanding sponge until the surface feels level. Do not sand aggressively: exposing the drywall’s brown paper face can create a fuzzy edge that needs sealing before painting.
For popped screw heads, drive the screw just below the surface without breaking the face paper. Add a new drywall screw a couple of inches above or below it if the panel has pulled away from framing, then cover both fasteners with compound. A recurring nail pop or a long crack can indicate movement and deserves closer investigation.
4. Patch Holes With a Self-Adhesive Repair Patch
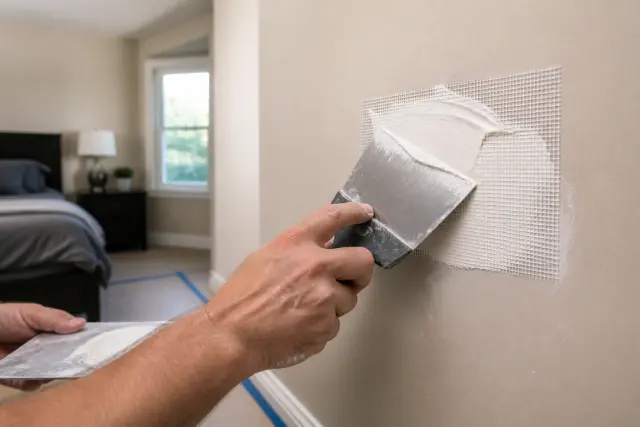
A mesh or metal-backed patch is a practical option for many palm-size openings. First trim the damaged area so the patch can rest on flat, solid wallboard. Wipe away dust, center the patch over the hole, and press it firmly into place. The patch should overlap intact drywall on every side.
Apply joint compound with a wide knife, pressing compound through the mesh and across the edges. Keep the center filled, but focus on extending thin material outward. On a smooth wall, the finished feathered area may need to be much wider than the original hole to disappear visually after painting.
Build thin coats instead of one thick mound
Allow each coat to dry according to the product instructions before adding the next. Sand lightly between coats, remove dust, and widen each successive coat. Two or three thin coats normally produce a flatter result than a thick first coat, which can shrink, crack, or leave a conspicuous raised patch.
5. Repair a Large Hole With a Drywall Cutout
For an opening too large for a surface patch, cut the damage into a neat rectangle or square. Straight edges make fitting a replacement piece much easier. Before sawing, inspect the location for plumbing and electrical hazards. Keep the cut controlled, shallow, and inside the area you have assessed.
Install wood backing strips behind the opening if the cut does not expose studs at both sides. Slide a strip behind one edge, hold it tight against the back of the drywall, and drive screws through the existing wall into the strip. Repeat on the opposite side. Use screws that are long enough to hold the backing securely but not so long that they risk reaching concealed components farther inside the wall.
Fit and fasten the replacement piece
Trace the opening onto a piece of drywall of the same thickness, cut it slightly proud, and trim gradually until it fits with small, even gaps. Screw the patch into the backing or studs with the screw heads slightly dimpled below the surface. Do not break the paper facing. Cover seams with paper tape embedded in joint compound, then apply progressively wider coats after each layer dries.
If the opening reveals wet insulation, damaged framing, pest activity, or an uncertain utility line, stop the repair. Those conditions are better evaluated by the appropriate trade professional before the wall is sealed.
6. Fix Damaged Corners, Edges, and Torn Drywall Paper
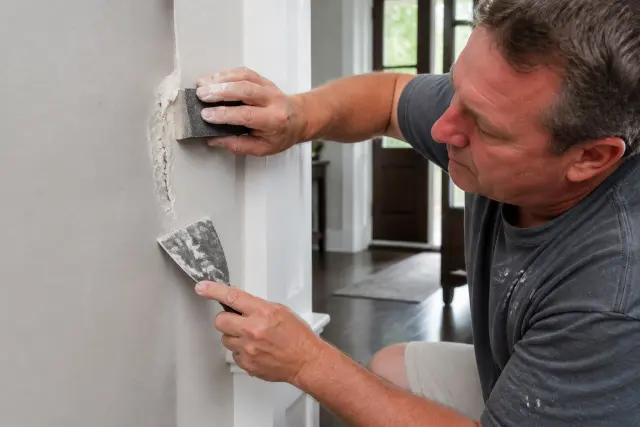
Outside corners often use metal, vinyl, or paper-faced corner bead beneath the finish. If only the paint and compound are chipped, remove loose material, apply compound in thin coats, and sand carefully without cutting through the corner’s crisp profile. A flexible corner sanding sponge can help preserve the shape.
If the corner bead is bent, cracked, or loose, remove the damaged section back to solid material and replace it with a compatible piece. Fasten it as directed for the bead type, then coat both sides evenly. Feather compound away from the corner rather than piling material directly on its point.
Torn drywall face paper needs special treatment. Trim loose fibers, then seal exposed paper with a drywall sealer or a suitable primer before applying water-based joint compound. Unsealed paper can bubble when it absorbs moisture from the compound, creating a repair that looks worse instead of better.
7. Blend Repairs Into Textured Walls
Texture is often harder to match than the patch itself. Before repairing a visible wall, practice on a scrap piece of drywall or an inconspicuous area. Observe the texture’s size, direction, and density. Orange peel, knockdown, and hand-applied textures each require a different touch, and a heavy application is harder to correct than a light one.
For a subtle orange-peel finish, a texture aerosol or thinned compound applied with the appropriate tool can work, but test the spray pattern first. For knockdown texture, let the sprayed or dabbed material set briefly, then skim the high points with a broad knife held at a low angle. Drying time changes with humidity and temperature, so follow the product label rather than relying on a fixed schedule.
Keep the texture repair localized
Mask trim and adjacent surfaces, but avoid creating a sharply defined texture island. Feather the transition beyond the patch and compare it from several angles. In older homes, existing texture may have been applied by hand and may be impossible to duplicate perfectly; painting the entire wall, rather than only the repaired spot, often makes minor differences less noticeable.
8. Sand, Prime, and Paint for an Invisible Finish
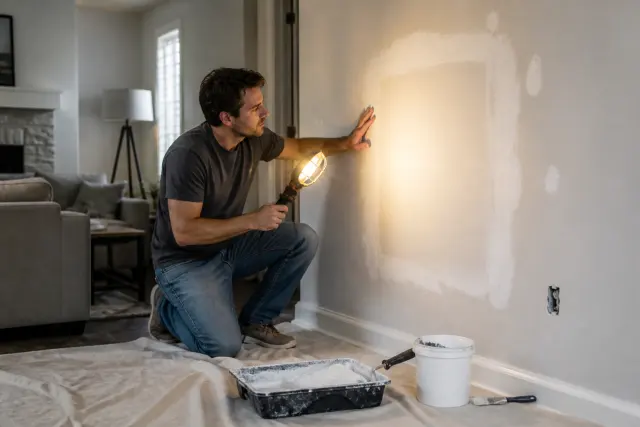
Use a bright work light held at an angle to reveal ridges, pinholes, and shallow depressions. Sand only until the repair blends with the wall. Run your fingertips across the edge; touch often detects a ridge that is hard to see. Vacuum dust from the patch and wipe surrounding surfaces with a barely damp cloth, allowing the area to dry before priming.
Prime every repaired area, especially bare gypsum, exposed paper, and fresh joint compound. Primer seals porous materials so the final paint does not dry with a dull or shiny “flashed” spot. Use a primer compatible with your topcoat and allow it to dry fully.
Make paint blending more reliable
Use the same sheen as the surrounding wall; sheen mismatch can be more obvious than a slight color difference. If you have matching paint, feather it beyond the primed patch with a small roller that resembles the wall’s existing roller texture. For the most consistent color and sheen, repaint from corner to corner on the entire wall. Keep indoor temperatures within the paint manufacturer’s recommended range and avoid painting on a damp wall.
9. Avoid Common Mistakes and Know When to Call for Help
The most common drywall repair errors are skipping prep, applying thick compound, sanding before the material is dry, and painting without primer. Another frequent problem is using a patch method that is too weak for the opening. A large hole needs solid backing or framing support; compound and mesh alone are not a structural repair.
Contact a licensed electrician, plumber, or qualified repair professional if you suspect damaged wiring or pipes, see persistent staining or mold-like growth, find a leak, or notice wide and recurring cracks. Homes in regions with seasonal humidity swings can have normal minor movement, but cracks that return after repair or doors that suddenly stick may warrant an assessment of the building rather than another cosmetic patch.
Check local requirements before doing work that alters electrical, plumbing, fire-rated assemblies, or shared walls in a condominium or multifamily building. A simple surface repair usually does not require a permit, but rules and association requirements vary. When in doubt, ask the local building department or property manager before opening the wall.
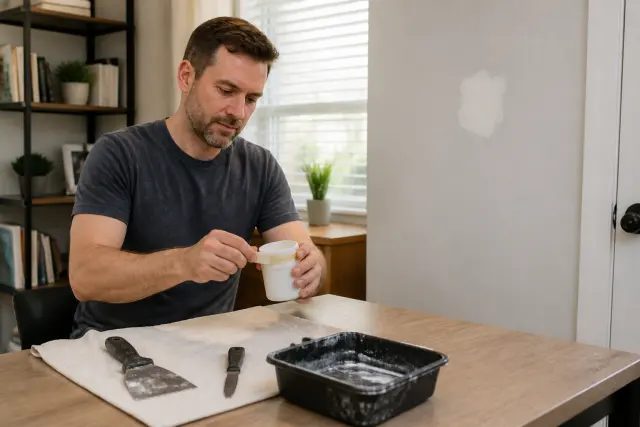
Once the repair is painted, save a labeled container of touch-up paint and note the sheen, room, and date. Inspect repaired areas occasionally, particularly after a plumbing issue, a humid season, or a significant impact. Early attention to a new stain or crack is usually simpler than repairing a larger section later.
Clean tools before compound or paint hardens, seal leftover materials tightly, and dispose of debris according to local household-waste guidance. With careful preparation and a few thin coats, most drywall repairs can stay inconspicuous for years.

Conclusion
Learning how to fix drywall holes starts with choosing a repair method that matches the damage. Fill small holes neatly, use a patch for medium openings, and add solid backing for large cutouts. Take time to feather compound, inspect the surface under angled light, prime the repair, and match the paint sheen.
Do not treat moisture, utility damage, or persistent structural movement as a simple patching job. Address the underlying problem first, then finish the wall. For routine dents, anchors, and accidental holes, a methodical approach can restore a smooth, paint-ready wall with materials most homeowners can handle.
Frequently Asked Questions
Can I use spackle to fix a large drywall hole?
Spackle works best for small nail holes, shallow dents, and minor imperfections. For a larger opening, use a drywall repair patch or install a fitted drywall piece with solid backing, then finish it with joint compound.
How long should drywall joint compound dry before sanding?
Drying time depends on the product, coat thickness, indoor temperature, and humidity. Follow the package instructions and wait until the compound is uniformly dry and hard. Sanding damp compound can gouge the repair and clog sandpaper.
Do I need to prime a drywall patch before painting?
Yes. Primer seals porous joint compound and exposed drywall so the paint dries evenly. Skipping primer can leave a noticeably dull, shiny, or differently colored patch after the paint dries.
Why does my drywall patch show through after painting?
A visible patch may be raised, recessed, insufficiently feathered, unprimed, or painted with a different sheen. Use angled light to find defects, apply a wider thin coat if needed, prime, and consider painting the full wall for better blending.
Can I patch drywall near an electrical outlet?
Use extra caution. Turn off power at the breaker before cutting, and do not assume a stud finder can identify every concealed wire. If the opening is near wiring or you are uncertain what is behind the wall, contact a qualified electrician or repair professional.
What causes a drywall crack to come back after repair?
Recurring cracks can result from seasonal movement, loose drywall, framing movement, foundation issues, or moisture-related changes. A hairline crack may be cosmetic, but a widening, repeated, or extensive crack should be evaluated before repeated patching.