Pollinator Garden Ideas
Create a welcoming pollinator garden with practical plant, layout, water, and maintenance ideas tailored to American yards and growing conditions.
Introduction
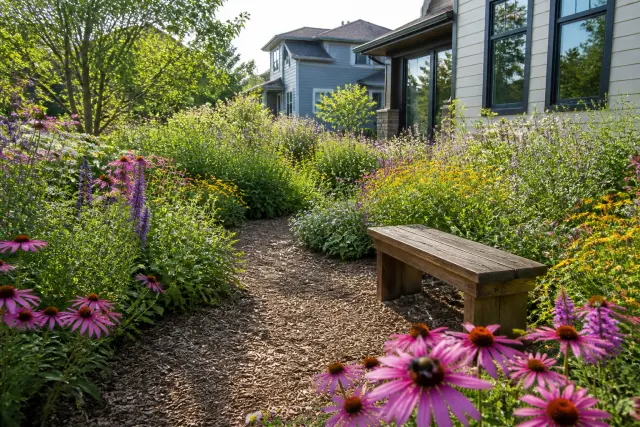
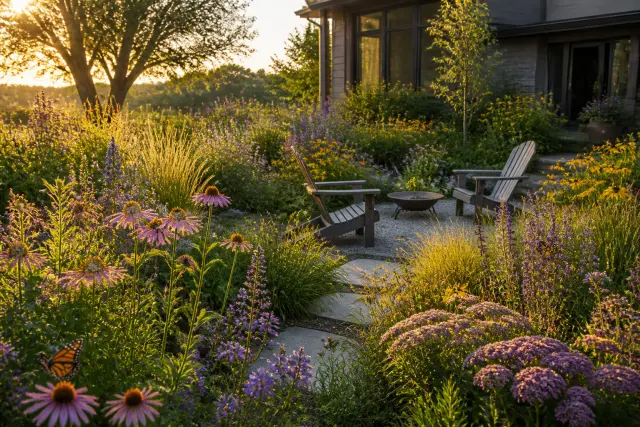
Pollinator garden ideas can turn an ordinary front bed, side yard, patio border, or backyard corner into a living landscape that supports bees, butterflies, moths, hummingbirds, and beneficial insects. The most successful gardens are not defined by one perfect flower. They provide a dependable sequence of nectar and pollen, places to rest and reproduce, and growing conditions that let plants thrive with less intervention.
Start with the space you have rather than trying to copy a garden from another region. A sunny suburban foundation bed may suit coneflowers and mountain mint, while a damp, partly shaded area may be better for native asters, sedges, and woodland flowers. Even containers can contribute when they hold healthy, pesticide-free plants and are placed near other flowering areas.
Use these ideas as a flexible framework. Your local native plant society, county extension office, botanical garden, or independent native-plant nursery can help identify plants that naturally fit your state, ecoregion, soil, and moisture conditions. That local match is often the difference between a garden that needs constant rescue and one that becomes more resilient each year.
1. Begin With a Simple Site Survey
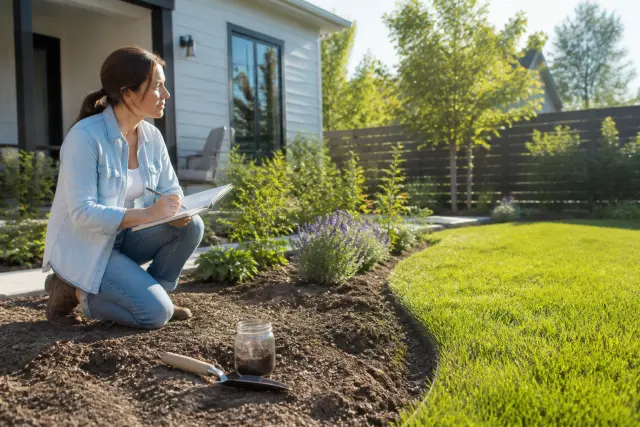
Before selecting plants, watch the area for a few days. Note how many hours of direct sun it receives, where rainwater collects, whether the soil dries quickly, and how exposed it is to wind. “Full sun” generally means at least six hours of direct sunlight, but hot afternoon sun in Arizona is not equivalent to six mild morning hours in the Great Lakes region. Record what you see instead of relying only on a plant tag.
Check the soil with a basic soil test if you are unsure about its fertility or pH. Many native plants tolerate average soil and do not need rich, heavily amended beds. Improving severe compaction with compost and loosening soil before planting can help, but avoid turning every site into a uniformly rich, wet bed. Plants adapted to lean or dry soils can decline when conditions are too fertile or poorly drained.
Work with existing conditions
Divide a mixed yard into small zones: dry and sunny, moist and sunny, dry shade, and moist shade. Then select plants for each zone. This approach reduces watering, improves plant vigor, and gives pollinators a wider range of resources. If drainage is poor near a foundation, resolve grading or gutter issues first; a pollinator bed should not create moisture problems for the house.
2. Choose Plants That Bloom Across the Seasons
A continuous food supply matters more than a dramatic burst of flowers in one month. Aim to include several kinds of blooms for early spring, late spring, summer, and fall. In mild-winter climates, winter-blooming natives or early shrubs may also be valuable. Planting in groups of the same species makes flowers easier for pollinators to locate than scattering single plants throughout a large bed.
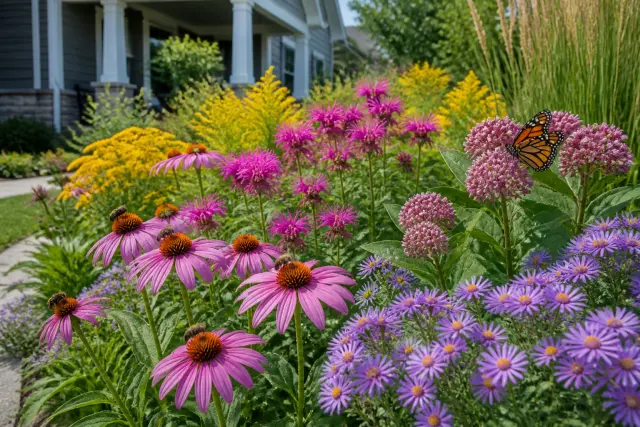
For many U.S. gardens, early-season options may include native willows, serviceberries, redbuds, penstemons, or regional spring wildflowers. Summer choices can include bee balm, milkweeds, coneflowers, blazing stars, yarrow, and native sunflowers. Fall gardens often benefit from asters, goldenrods, ironweed, and late-blooming salvias where appropriate. These are examples, not universal prescriptions: choose species native to your area and suited to your site.
Use flowers with different shapes
Flower form broadens the garden's appeal. Flat-topped clusters can provide easy landing areas for many insects, tubular flowers suit long-tongued bees and hummingbirds, and small open flowers can support tiny beneficial wasps and flies. Include host plants as well as nectar plants. For example, certain butterfly and moth caterpillars need specific native plants; a garden designed only for adult nectar visitors misses part of the life cycle.
3. Make Native Plants the Backbone
Native plants are not automatically maintenance-free, but they have evolved alongside local weather patterns and wildlife. Once established in an appropriate location, they often need less supplemental water and fewer inputs than poorly matched plants. They can also provide pollen, nectar, seeds, foliage, or nesting value that ornamental plants may not offer in the same way.
That does not mean every nonnative flower is useless or that every plant labeled “native” is appropriate everywhere. Native ranges can be regional, and a species native to one part of the country may be unsuitable elsewhere. Read botanical names on labels when possible, ask where plants were grown, and avoid known invasive plants in your region. State invasive-plant lists and local extension guidance are useful references.
Be thoughtful with cultivated varieties
Some cultivated selections of native species can still be visited by pollinators, but heavily altered flowers may produce less accessible nectar or pollen. Double flowers, for example, can replace useful floral parts with extra petals. Favor straight species when they are available, especially for key host plants, and use cultivars selectively rather than letting them dominate the planting.
4. Design in Layers, Drifts, and Repeated Colors
A pollinator garden can look intentional without looking rigid. Use taller shrubs, grasses, or flowering perennials toward the back of a border; mid-height plants in the center; and lower plants or ground covers at edges and paths. In an island bed viewed from all sides, place the tallest plants in the middle. This layered structure creates sheltered pockets while keeping shorter blooms visible.
Repeat plant groups through the bed rather than planting one of everything. Drifts of three, five, or more plants create visual rhythm and help visitors find resources. The exact quantity depends on mature width, not the size of the nursery pot. Leave adequate room for air circulation and future growth, particularly in humid regions where crowded foliage can develop disease issues.
Include grasses and quiet spaces
Native bunchgrasses, sedges, and low-growing foliage plants provide texture between flowers and can shelter insects. They also keep the garden attractive when one bloom period ends. Balance colorful sections with mulch, stone paths, or a small seating area so the garden feels calm and easy to maintain. Keep taller plants away from driveway sight lines, sidewalks, and entrances where they could obscure visibility or spill into pedestrian space.
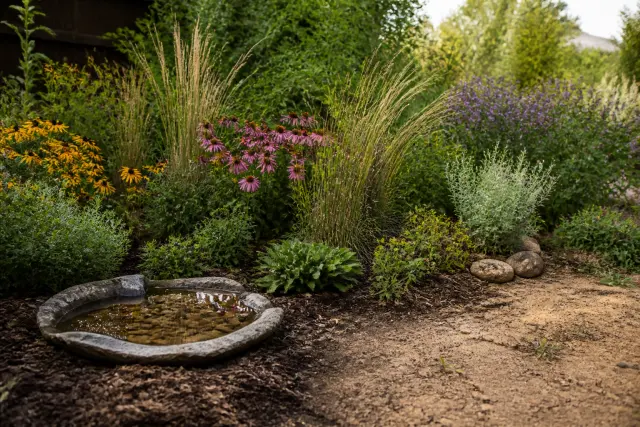
5. Add Water, Shelter, and Nesting Opportunities
Flowers are central, but pollinators need more than flowers. A shallow water source with pebbles, stones, or a rough surface gives small insects a place to drink without falling in. Refresh and scrub shallow dishes regularly, particularly in warm weather, to limit mosquito breeding. A drip or brief slow leak from an irrigation system should be repaired rather than used as a permanent water feature.
Many native bees nest in the ground. Leave a small patch of bare, well-drained soil in a sunny, out-of-the-way area instead of covering every inch with fabric or thick mulch. Others use hollow stems or small cavities in dead wood. Leaving some upright stems over winter and a modest brush pile in a managed corner can provide habitat without making the whole yard look neglected.
Use bee houses carefully
Commercial bee houses can help some cavity-nesting species, but they require regular maintenance. If tubes or inserts cannot be opened, cleaned, or replaced, pests and disease may build up. Place any house in a protected location according to its instructions, and do not treat it as a substitute for natural nesting habitat. A diverse garden with soil, stems, and plant cover serves more kinds of pollinators.
6. Create a Bloom Calendar for Your Climate
A bloom calendar is one of the most useful pollinator garden ideas because it reveals seasonal gaps before you plant. List your intended plants in columns for spring, summer, and fall, then compare the overlap. Try to have at least two or three plant types flowering in each active season. This matters when a cold spring delays one plant or summer heat shortens another bloom period.
Climate changes the schedule. In northern gardens, fall bloomers can be especially valuable before winter; in hot-summer areas, drought-tolerant natives and afternoon shade may protect plants during heat waves. In coastal or humid climates, good spacing and site-appropriate species reduce fungal problems. In dry western regions, establish plants with deep, infrequent watering, then taper irrigation only as their needs allow.
Plan for weather, not just hardiness zones
USDA hardiness zones describe average winter cold, not rainfall, humidity, soil texture, summer heat, or wind. Use a zone as a starting point, then rely on local observations. A native plant nursery can often tell you which species tolerate clay, deer pressure, drought, monsoon moisture, or salt exposure in your particular area.
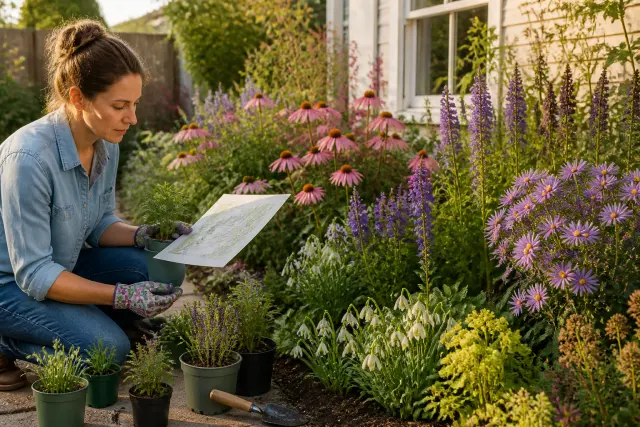
7. Plant for Strong Roots and Easy Care
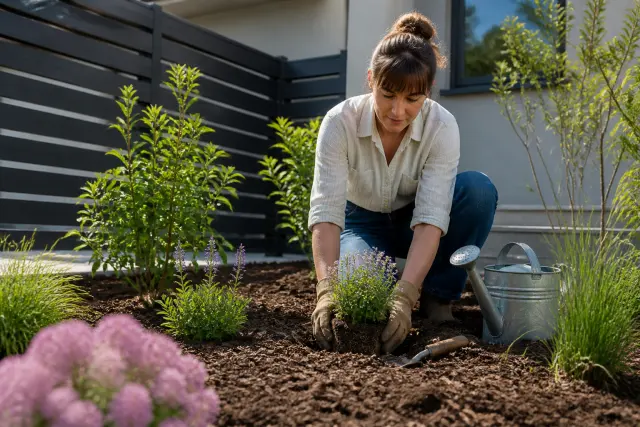
Plant in spring or fall when temperatures are moderate and rainfall is more reliable, unless your local climate calls for another schedule. Water nursery plants before planting. Dig a hole about as deep as the root ball and wider than it, set the plant at the same soil level it grew in the pot, and backfill with the native soil. Planting too deeply is a common cause of poor establishment.
Water slowly and thoroughly at planting so moisture reaches the root zone. During the first growing season, check new plants regularly and water according to weather and soil moisture. The goal is to encourage roots to grow outward and downward, not to keep the surface constantly wet. A two- to three-inch layer of organic mulch can conserve moisture and suppress weeds, but keep mulch away from crowns and woody stems.
Skip unnecessary landscape fabric
Landscape fabric can make planting, dividing, and natural reseeding difficult over time. It may also interfere with ground-nesting insects when used across an entire bed. Hand weeding, dense planting once perennials mature, and a manageable mulch layer are usually more flexible choices. Use gloves, eye protection, and stable footwear when clearing brush, moving stone, or working around stinging insects.
8. Maintain the Garden Without Harming Its Visitors
A pollinator garden is not no-maintenance, but its work changes through the year. In the first two years, prioritize watering new plants, removing weeds before they seed, and replacing plants that clearly do not fit the site. After establishment, divide aggressive perennials when needed, remove invasive seedlings promptly, and edit self-sowers so one species does not crowd out the rest.
Limit pesticides whenever possible. Broad-spectrum insecticides can harm target pests and beneficial insects alike, and pollinators can be exposed through treated flowers, drifting spray, or contaminated water. Identify the problem first, use physical removal or pruning when practical, and choose the least-toxic, most targeted option only when necessary. Always follow the product label; it is a legal document, and application restrictions can vary by product and location.
Leave some winter structure
Seed heads, stems, leaf litter, and grasses can shelter overwintering insects and add texture in cold months. Instead of cutting everything down in fall, leave healthy stems until late winter or spring, then cut them back in stages. When you do cut hollow stems, bundle a few short pieces in a dry spot for a while before composting. Avoid burning plant debris unless it is appropriate and permitted in your area.
If your project includes a large rain garden, retaining wall, major drainage change, or work close to property lines and utilities, check local requirements before starting. Call 811 before digging deeply in the United States, and consult a qualified landscape professional, arborist, or drainage contractor when the work affects mature trees, slopes, or runoff near a home.
Start small if a full-yard conversion feels overwhelming. A sunny strip measuring just a few feet wide can hold a carefully chosen mix of early, midseason, and late flowers. Expand after you learn which plants handle your soil and which areas attract the most activity. Taking photos through the seasons is an easy way to track bloom gaps, weed pressure, and changes you want to make next year.
Consider your neighbors and household routines, too. A neat edge, a mown path, a simple plant label system, or a low fence can make a naturalistic planting look cared for. Place seating at a comfortable viewing distance, teach children to observe rather than handle insects, and locate plants that attract lots of visitors away from busy play areas or narrow entry paths.
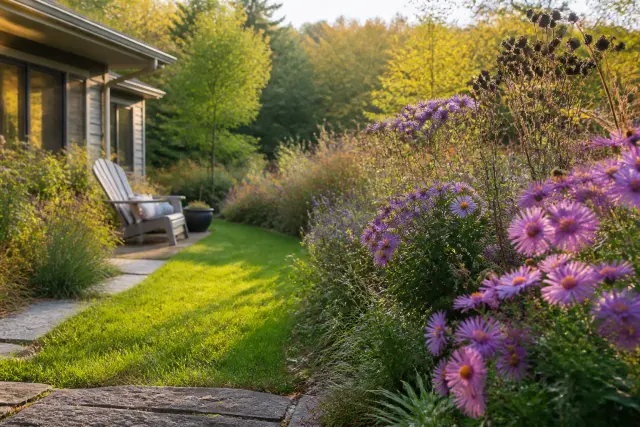
A healthy pollinator garden does not need to be perfectly tidy or in bloom every day. Its value comes from offering connected resources through changing seasons: flowers, foliage, shelter, water, and places to nest. A few missed weeds or weather-worn leaves are part of a working habitat, not necessarily signs of failure.
As the garden matures, refine it rather than starting over. Add another fall bloomer if late-season flowers are scarce, move a sun-lover that is struggling in shade, or replace a thirsty plant with one better suited to your rainfall. Small, informed adjustments produce a garden that is more beautiful, easier to care for, and more useful to wildlife.
Conclusion
The best pollinator garden ideas begin with local conditions and build outward: choose regionally appropriate plants, plan blooms from season to season, provide simple habitat features, and maintain the space with restraint. Whether you plant a few containers or reshape an entire border, every well-matched flower group can add to a more lively and resilient home landscape. Begin with one manageable bed, observe it closely, and let the garden guide your next steps.
Frequently Asked Questions
How much sun does a pollinator garden need?
Many flowering pollinator plants perform best with six or more hours of direct sun, but you can create a useful garden in part shade with plants suited to that condition. Match plant choices to the actual light in your yard.
What are the best plants for a pollinator garden?
The best choices are plants native to your region that fit your soil moisture, light, and climate. Include several species with overlapping bloom times from early spring through fall, plus host plants for butterfly and moth caterpillars.
Should I use mulch in a pollinator garden?
A moderate layer of organic mulch helps retain moisture and manage weeds around many plants. Leave a few open, sunny, well-drained soil patches for ground-nesting bees, and avoid piling mulch against plant crowns or tree trunks.
Can I make a pollinator garden in containers?
Yes. Use sufficiently large containers with drainage holes, potting mix, and a mix of pollinator-friendly plants suited to your local climate. Water consistently, avoid systemic insecticides, and place containers where they receive the required light.
When should I cut back a pollinator garden?
Leave healthy stems, seed heads, grasses, and some leaf litter through winter when possible. Cut back in late winter or spring in stages, after temperatures are consistently mild in your area, to preserve more overwintering habitat.
How can I control pests without hurting pollinators?
Identify the pest first and use the least-disruptive option, such as hand removal, water spray, pruning, barriers, or encouraging natural predators. Avoid spraying open flowers, and follow all pesticide label directions if a treatment is necessary.